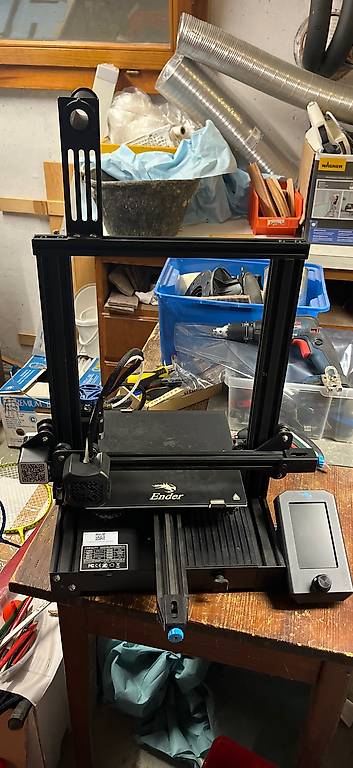
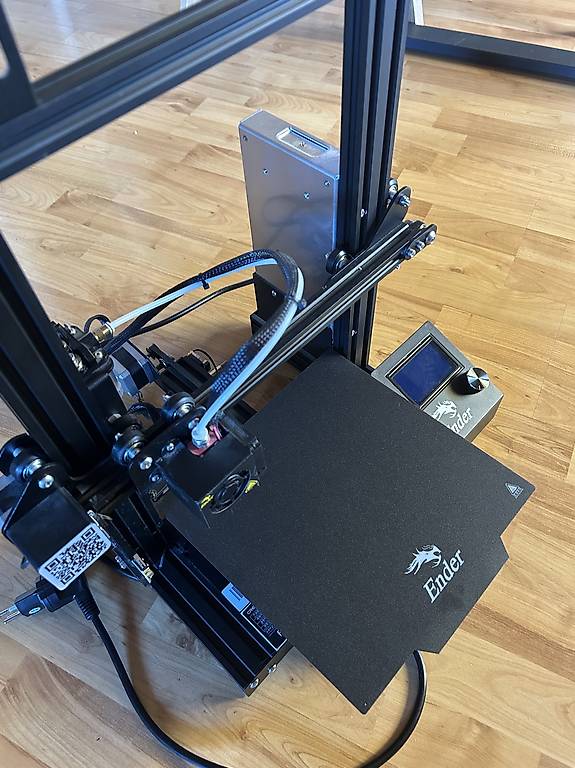
Creality Ender 3 V2 NEO New in the original box never used
130.-
26.07.2026


6314, Unterägeri
Creality Ender 3 V2 Neo Review
The Creality Ender 3 V2 Neo is the 2022 iteration of Crealitys popular Ender 3 series of 3D printers. Building upon the success of the Ender 3 V2, the V2 Neo ships with a number of improvements and upgrades at nearly the same price, aiming to compete with other new entries in the budget 3D printer space
In this review, well take a look at how to assemble the Ender 3 V2 Neo, whether the Ender 3 V2 Neo is easy to use, and the overall print quality you can expect. .
Assembling the Ender 3 V2 Neo
General Overview of Assembly
We were pleased to see that the connectors are all labeled and keyed to only insert one way, making the assembly process very beginner friendly. The instructions indicate which connectors are 6-pin or 2-pin and how many wires are in each connector, making it easy to identify the right connector.
While the text and illustrations of the provided paper guide are very small, theres a full manual on the included micro SD card which is much more complete with text and illustrations that are far easier to readits worth looking at this on a computer or phone to aid in assembly.. The connectors all branch off of a single cable bundle running out of the mainboard housing in the base. This cable bundle is nicely sleeved coming out of the base to the hot end. It splits out to a ribbon cable and further separates out to a series of connectors near the extruder.
Assembly Process
Assembling the Ender 3 V2 Neo took about 15-20 minutes, rather than the hour or more that the previous Ender 3 models could take, and is definitely more beginner friendly. While we recommend you use Crealitys instructions for the assembly, well walk through the assembly process to give you an idea of what it entails.
Before turning the printer on, verify the voltage is set correctly on the power supply. Like most 3D printers, the Ender 3 V2 Neo is equipped with a power supply that does not automatically adjust to incoming voltage. This may be a surprise to those new to 3D printing and used to computer power supplies.
Extruder advance indicator knob, Z axis stepper motor connection and cable ties on extruder and sleeved cable.
Make sure you set the input voltage properly, or the printer will not turn on.
Ender 3 V2 Neo New Features
The CR-touch sensor probing the bed as part of the mesh leveling procedure.
Using the CR-touch Auto Bed Leveling
Although the Ender 3 V2 Neo is equipped with CR Touch automatic bed leveling, its still a good idea to roughly level the bed manually, especially before your first print. Auto leveling works best on a bed thats already close to level.
Updated Hot End
Creality introduced a new hot end for the Neo series, with a couple of notable updates over the previous design. The new enclosure is easy to see in images of the printer, but a less obvious feature is that the heat sink has been redesigned to help prevent filament jams. Jams are typically caused if filament gets hot too soon and melts within the heatsink section before it reaches the nozzle, so improved cooling of the portion before the heated nozzle is an important new feature that should improve reliability.
We were also pleased to see a more robust connector for the PTFE tubing at the top of the hot end - we have seen these fail on some printers and need to be replaced, but the new one appears to be fully metal and less prone to failure. Previous designs used small metal teeth to hold the tube in place, which would break and fail over time.
The redesigned heat sink and new metal PTFE tube coupling are key improvements to the Ender 3 V2 Neos hot end.
The Creality Ender 3 V2 Neo is the 2022 iteration of Crealitys popular Ender 3 series of 3D printers. Building upon the success of the Ender 3 V2, the V2 Neo ships with a number of improvements and upgrades at nearly the same price, aiming to compete with other new entries in the budget 3D printer space
In this review, well take a look at how to assemble the Ender 3 V2 Neo, whether the Ender 3 V2 Neo is easy to use, and the overall print quality you can expect. .
Assembling the Ender 3 V2 Neo
General Overview of Assembly
We were pleased to see that the connectors are all labeled and keyed to only insert one way, making the assembly process very beginner friendly. The instructions indicate which connectors are 6-pin or 2-pin and how many wires are in each connector, making it easy to identify the right connector.
While the text and illustrations of the provided paper guide are very small, theres a full manual on the included micro SD card which is much more complete with text and illustrations that are far easier to readits worth looking at this on a computer or phone to aid in assembly.. The connectors all branch off of a single cable bundle running out of the mainboard housing in the base. This cable bundle is nicely sleeved coming out of the base to the hot end. It splits out to a ribbon cable and further separates out to a series of connectors near the extruder.
Assembly Process
Assembling the Ender 3 V2 Neo took about 15-20 minutes, rather than the hour or more that the previous Ender 3 models could take, and is definitely more beginner friendly. While we recommend you use Crealitys instructions for the assembly, well walk through the assembly process to give you an idea of what it entails.
Before turning the printer on, verify the voltage is set correctly on the power supply. Like most 3D printers, the Ender 3 V2 Neo is equipped with a power supply that does not automatically adjust to incoming voltage. This may be a surprise to those new to 3D printing and used to computer power supplies.
Extruder advance indicator knob, Z axis stepper motor connection and cable ties on extruder and sleeved cable.
Make sure you set the input voltage properly, or the printer will not turn on.
Ender 3 V2 Neo New Features
The CR-touch sensor probing the bed as part of the mesh leveling procedure.
Using the CR-touch Auto Bed Leveling
Although the Ender 3 V2 Neo is equipped with CR Touch automatic bed leveling, its still a good idea to roughly level the bed manually, especially before your first print. Auto leveling works best on a bed thats already close to level.
Updated Hot End
Creality introduced a new hot end for the Neo series, with a couple of notable updates over the previous design. The new enclosure is easy to see in images of the printer, but a less obvious feature is that the heat sink has been redesigned to help prevent filament jams. Jams are typically caused if filament gets hot too soon and melts within the heatsink section before it reaches the nozzle, so improved cooling of the portion before the heated nozzle is an important new feature that should improve reliability.
We were also pleased to see a more robust connector for the PTFE tubing at the top of the hot end - we have seen these fail on some printers and need to be replaced, but the new one appears to be fully metal and less prone to failure. Previous designs used small metal teeth to hold the tube in place, which would break and fail over time.
The redesigned heat sink and new metal PTFE tube coupling are key improvements to the Ender 3 V2 Neos hot end.
- Preis CHF
- 130.-
- PLZ
- 6314
- Versand verfügbar
- Ja
Ähnliche Inserate
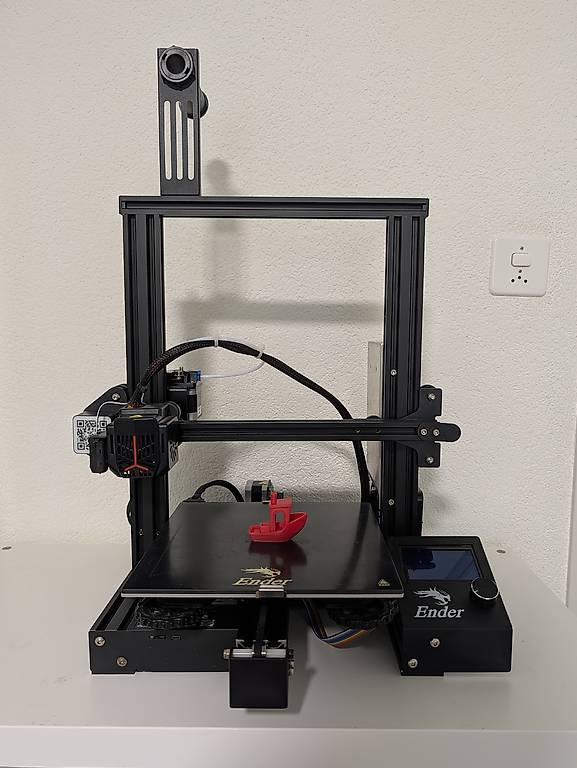
3D Drucker Creality Ender 3 Neo
70.-
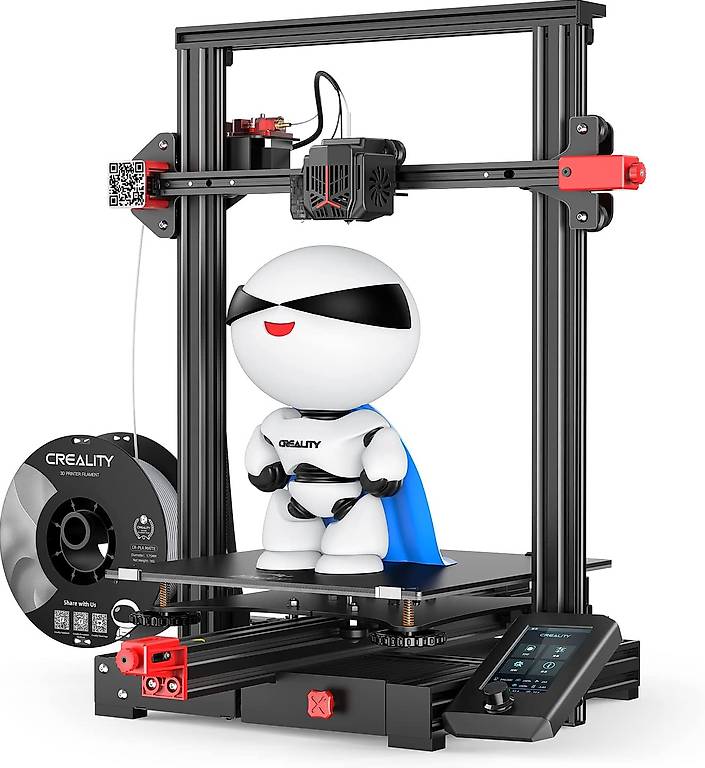
Creality 3D Drucker Ender-3 Max Neo Desktop 3D-Drucker
520.-
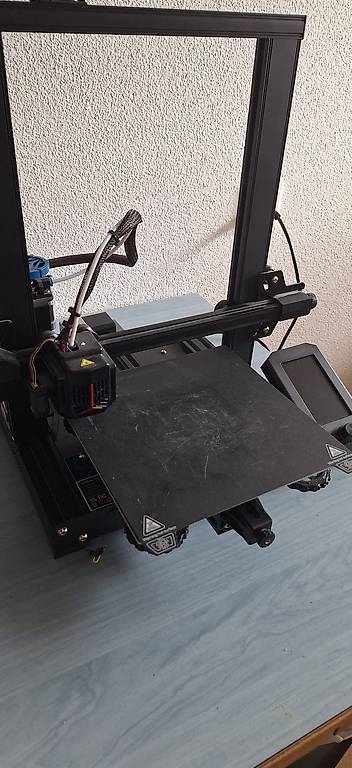
Creality Drucker
180.-
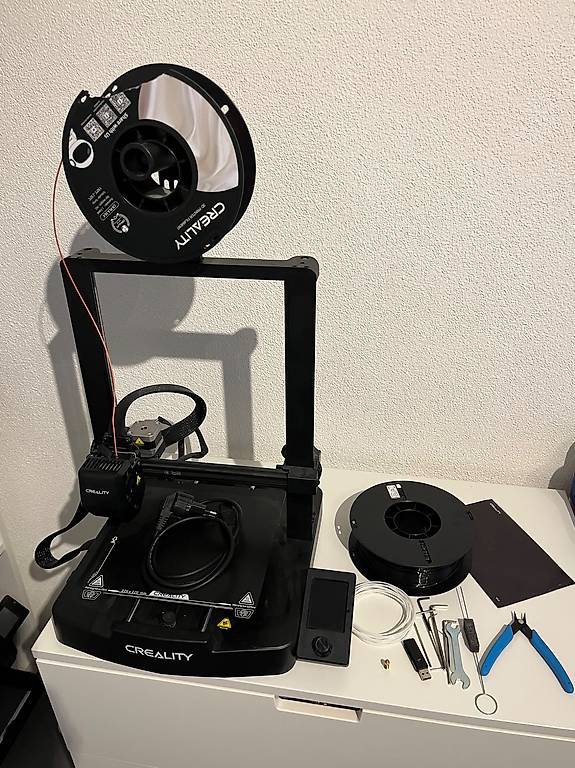
3D Drucker Cratlizy Ender 3 V3 SE
120.-
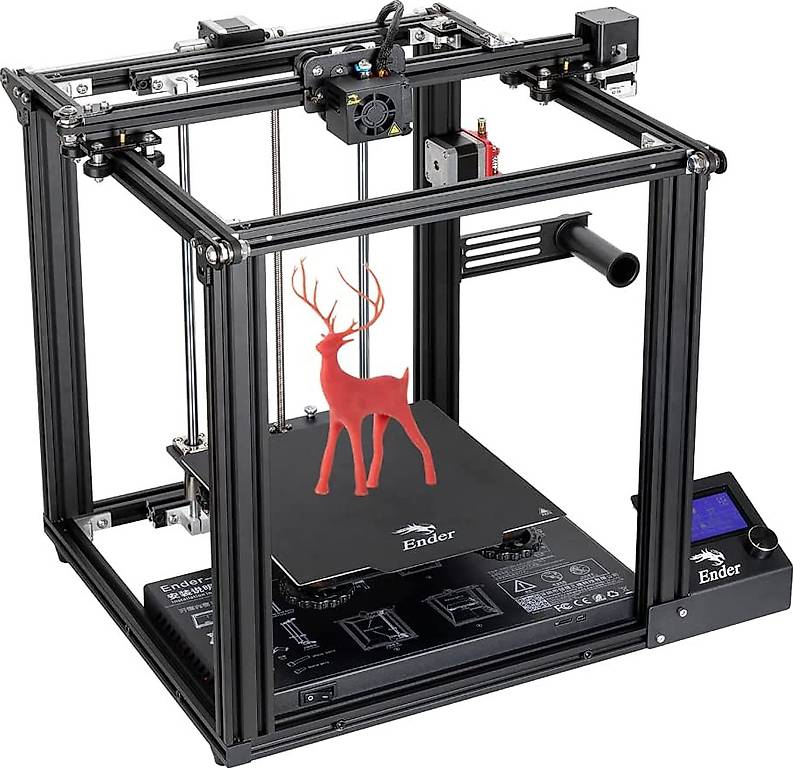
Creality Ender 5 Pro 3D-Drucker mit lautlosem Motherboard
450.-
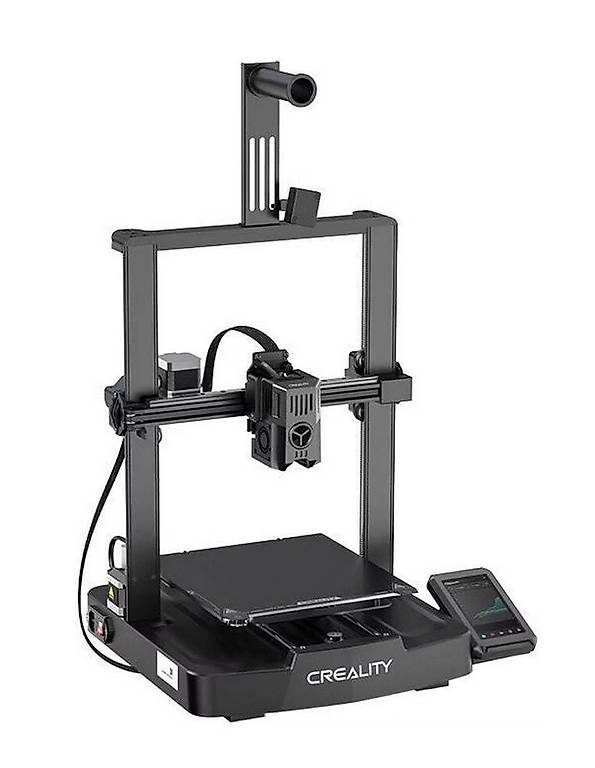
Neuwertiger Ender V3 KE Garantie bis 6.4.28
200.-
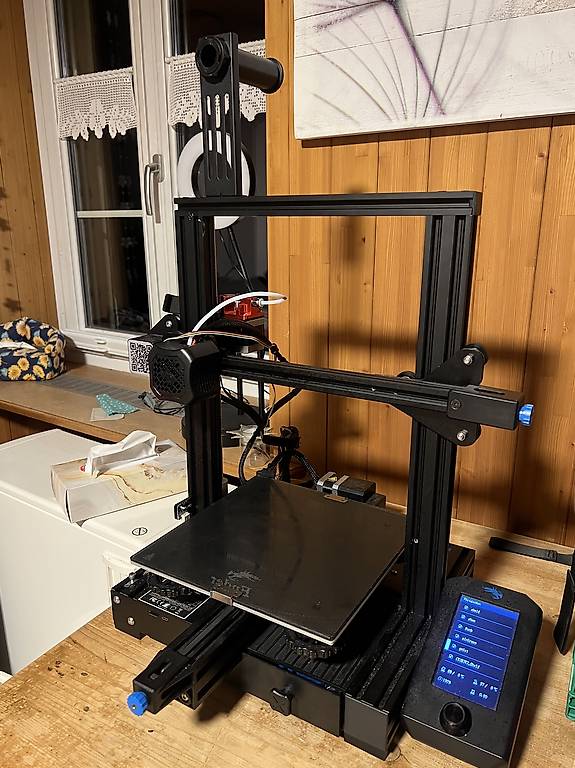
Creality ender 3v2
70.-
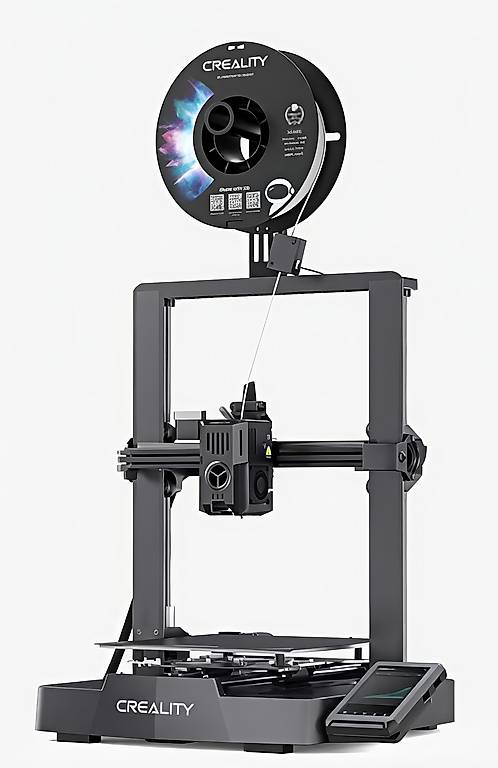
3D Drucker Creality Ender 3 V3 KE
170.-
Creality Ender-3 V2 3D-Drucker Top-Zustand
149.-
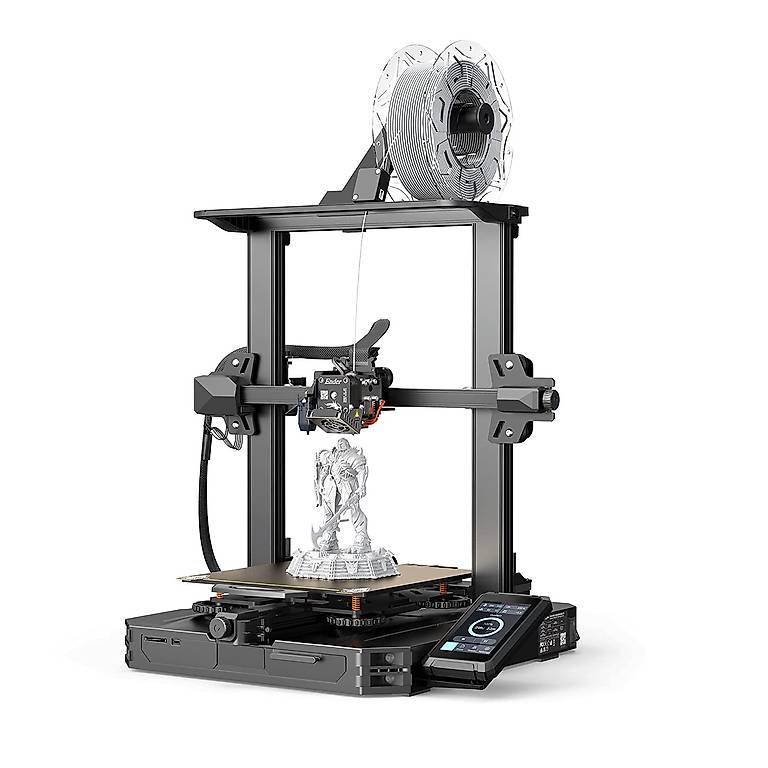
Creality 3D Ender-3 S1 Pro 3D-Drucker
550.-
Creality ender 3 pro 3d drucker printer
90.-
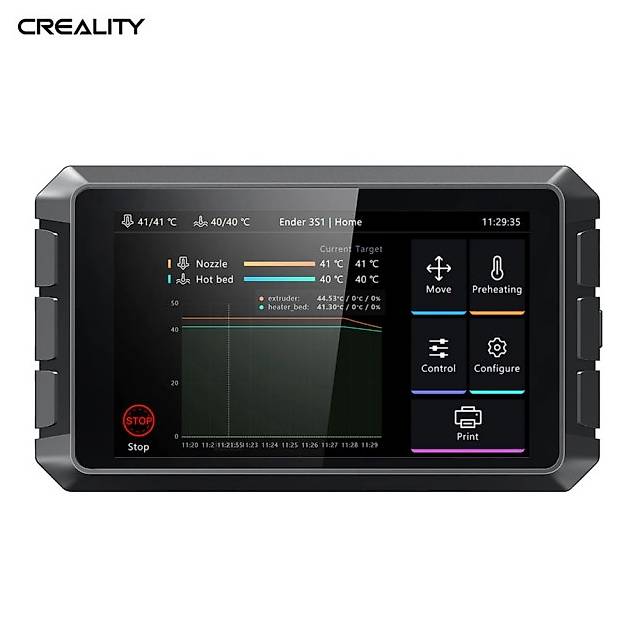
CREALITY 3D Sonic Pad für Drucker Ender-3 V2/Ender-3 S1
201.-
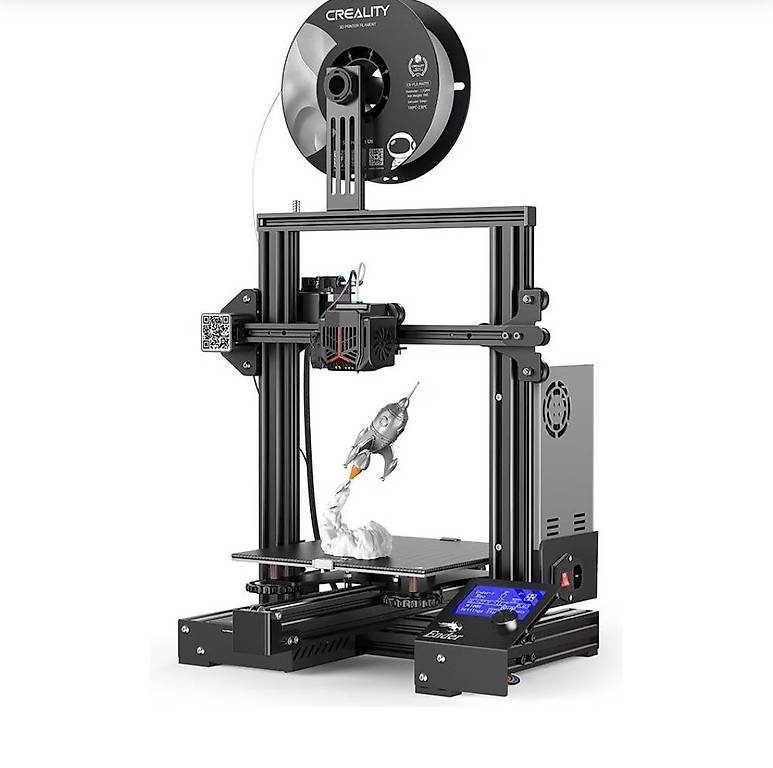
ENDER 3 NEO 3D DRUCKER NEU
249.-
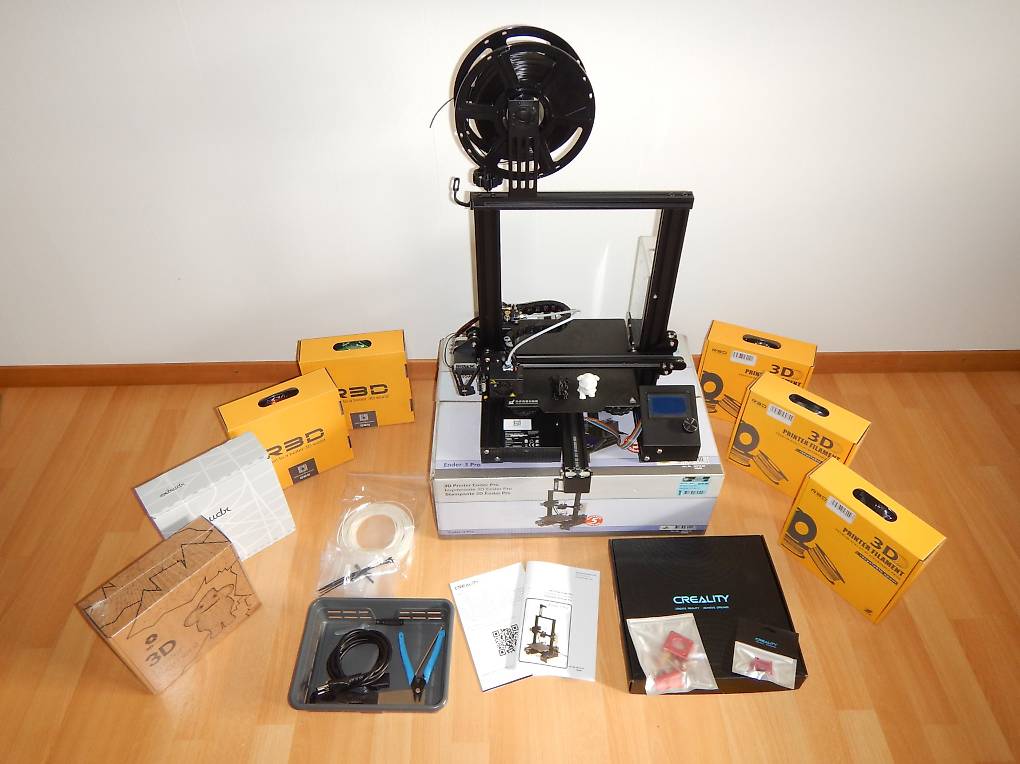
3D Printer Ender Creality PRO - 3D-Drucker - SET PROFI
390.-
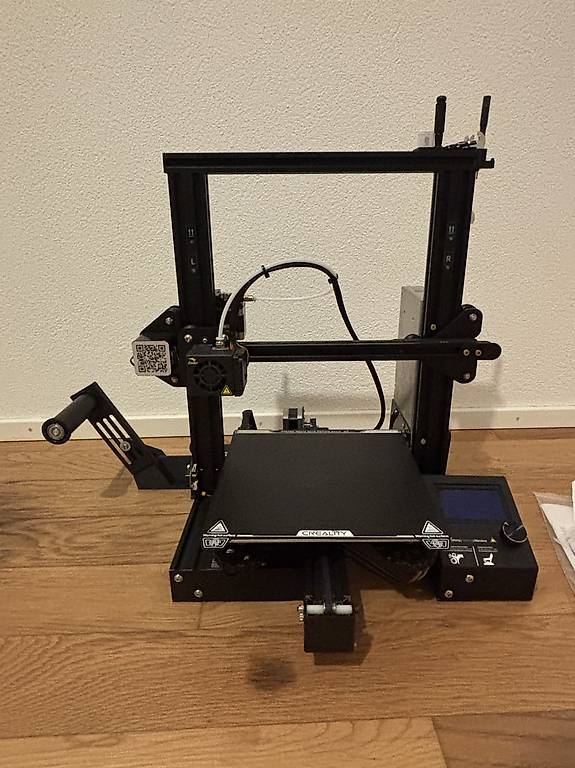
Creality Ender 3 Pro
80.-
Rechtliche Hinweise
Deutsch


© SMG Swiss Marketplace Group AG 2026.


Die Vervielfältigung und Übernahme von Inseraten durch Dritte, insbesondere von Fotos und persönlichen Daten in diesen Inseraten, verletzt die damit verbundenen Rechte und ist ausdrücklich verboten.